

Are you looking for some affordable website malware removal service? Then it’s good to have a look at Sitelock. Sitelock is one of the robust security services which provides complete isolation to your website.
Running a business without security could be dangerous and makes it more vulnerable. A hacker can easily steal your personal information. Don’t give any chance to hackers. Secure your WordPress site with sitelock security.
Therefore, I am going to share a key guide that explains that how to configure sitelock security with WordPress. It is very simple to setup sitelock with the WordPress site.
Let’s get started.
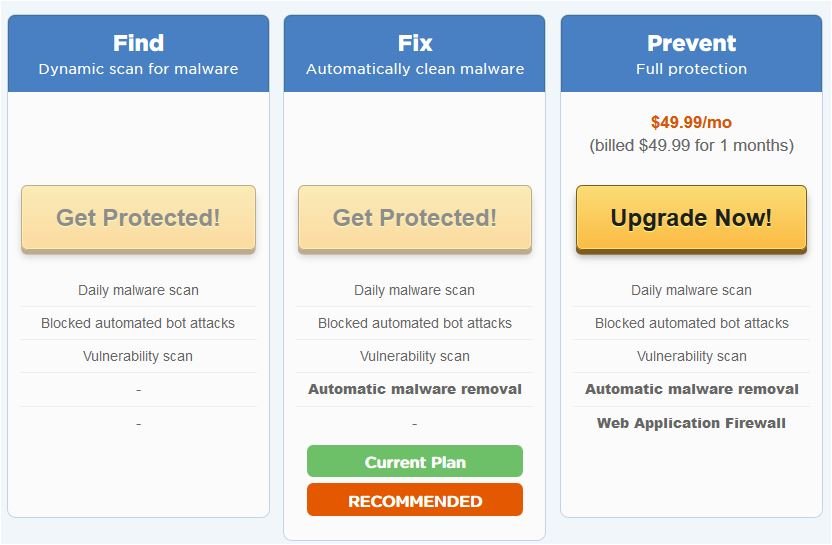
#1. First of all, purchase a suitable plan that fits your business. Sitelock has partnered with almost all the hosting companies so you can buy your plan directly from hosting. My website is running on Hostgator. So, there is three plan “find”, “fix” and “full protection”. I recommend you the fix plan which includes all necessary security essentials.
Features provided by “Fix plan” of sitelock
- Automatic malware removal
- Regular malware scanning
- Network scanning
- Spam scanner
- SQL infection scan
- WordPress core files [public_html folder] scan
- XXS scanner
Features that are not provided by this plan
How to purchase sitelock security plan from Hostgator?
Login to Hostgator billing portal
Click my account > offers > Sitelock

You see three plans as I mentioned above. Select the “fix plan.”
Purchase this plan by filling out all your credit card information. Once done, you will receive a welcome email from sitelock.
Toggle the CDN/firewall button that makes this plan activated. After that, head to the following manage icon.

As you click this manage icon, you will redirect to the site locks login page. Here, you see three options
- Login with hosting partner
- Login with username and password
- Create an account
Click the first option “login with hosting partner” and put your login ID and password or you can also create a new account. Next, open WordPress dashboard and download “sitelock security” plugin.
Once downloaded, go to tools and click the sitelock security and configure this plugin.
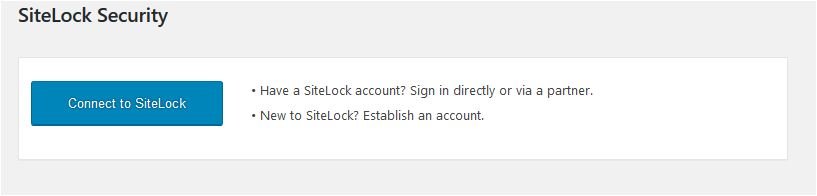
By clicking the “connect the sitelock” button, you will redirect to the sitelock dashboard. Here you need only to configure smart scan that provides full protection to your site
How to configure WordPress sitelock security plugin with sitelock to automatically remove the Malware
Next step, configure the smart scanner which let you allow remove all the malware or malicious code automatically. It is the only difference between “find plan” and “Fix plan”. That’s why I recommend you the fix plan.
As you enter into the sitelock, you will see a configuration alert letting you know that “configure the smart scan”. From here you can start setting up the smart scan configuration.
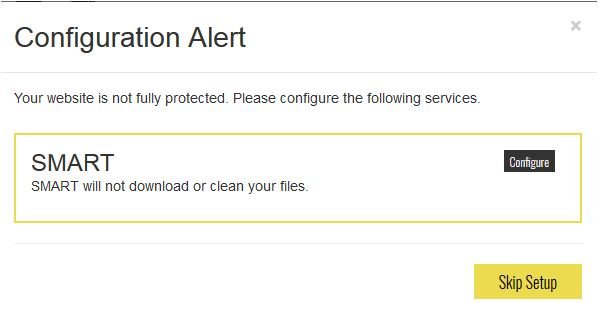
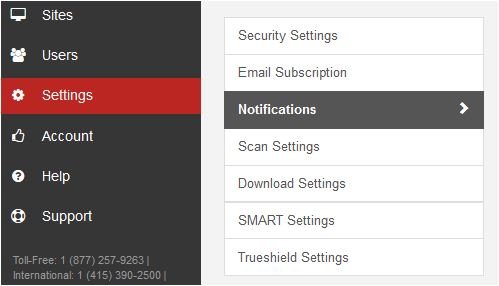
In case if you don’t find the smart scanner. Don’t worry you can see it here SETTINGS > NOTIFICATION > SMART SCAN
In smart wizard, connect the FTP server so sitelock can scan you whole directory. For connecting FTP, Go to your hosting Control-panel and click the “FTP accounts.”

Here you will see an FTP account that is automatically generated by sitelock. Copy the username and password from here.

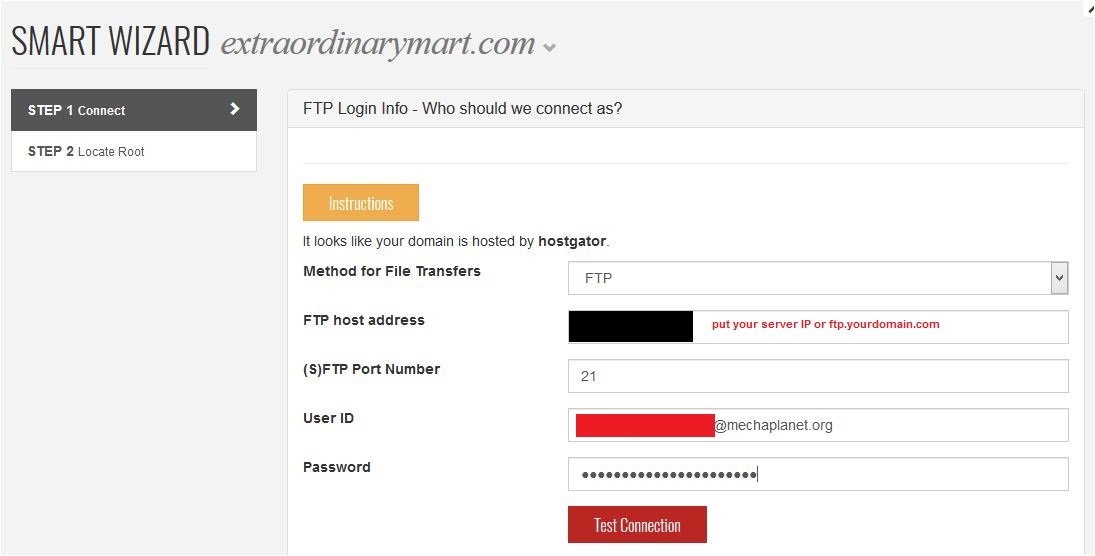
Put your FTP account details into the smart wizard of sitelock and click the “Test connection”. If you find any error, then you can change your method of file transfer from FTP to SFTP. Sometimes you might encounter some errors while connecting your FTP account. But don’t worry you can contact your hosting support.
See insights,
Method of file transfer – FTP or you may choose SFTP
FTP server address – put your server IP or ftp.yourdomain.com
FTP port number – 21
USER ID – userid@yourdomain.com [Put your FTP account user ID]
Password – Put your FTP account password
If you have successfully connected, you will see all the files in the sitelock smart wizard.

Now, select public_html folder as a root directory and click the “this is it” button.
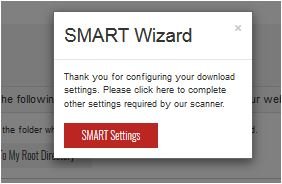
Congrats! You have successfully configured sitelock with the WordPress site. The last thing is that verify your phone number and address. Once you’ve done, you are ready to scan your website. One small thing you need to configure is that “allow the smart scanner to remove the infected files from your directory automatically.”
Conclusion
Finally, I must say that website malware removal service of sitelock is suitable for small businesses. But for broad website protection, you can switch to Wordfence or Sucuri. They provide some extra features that make your website fully protected from hackers.


2 thoughts on “How to configure WordPress sitelock security plugin with sitelock to automatically remove the Malware”
Once again a really nice article by you shailesh. I think configuration of this plugin can definitely block malware and other hazardous things come in our site.
Yes, you are right. But for large businesses it will not work… By the way thanks for your complement..